Rendering of models with Imaris
(without use of ImarisXT)
Ilya Belevich
Dataset: Huh7_CmVTag1_R2_Pos5.tif (original), obtained by Serial Block Face SEM
Huh7_CmVTag1_R2_Pos5_crop.tif (cropped)
Dimensions: 32.58 x 32.58 x 2.22 μm (original)
7.01 x 4.99 x 2.22 μm (cropped)
Pixel size: 13.45 x 13.45 x 30 nm
Files:
Dataset (tif), 12 Mb
Model (mat), 0.5 Mb
1. Load the dataset. Double click on the 'Huh7_CmVTag1_R2_Pos5_crop.tif' file
2. Load the model. Segmentation Panel->Load->Model2.mat
3. Export the model as TIF files.
I. Select I. Select LipidDroplets in the Materials list: Segmentation Panel->Materials: LipidDroplets;
II. Uncheck the Show all checkbox in the Segmentation panel.
III. Menu->Models->Save model as...->Save as type: TIF format (*.tif); File name: LD.tif; press Save
IV. Repeat I - III for NuclearEnvelope, ER and Mito.
4. Start Imaris
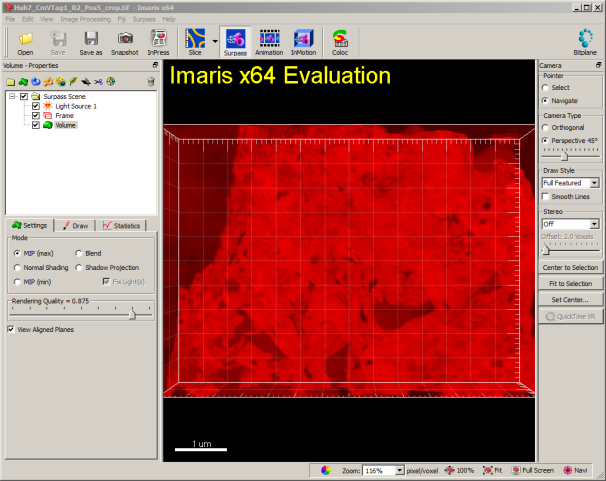
5. Open the dataset in Imaris. Press Open and select 'Huh7_CmVTag1_R2_Pos5_crop.tif'
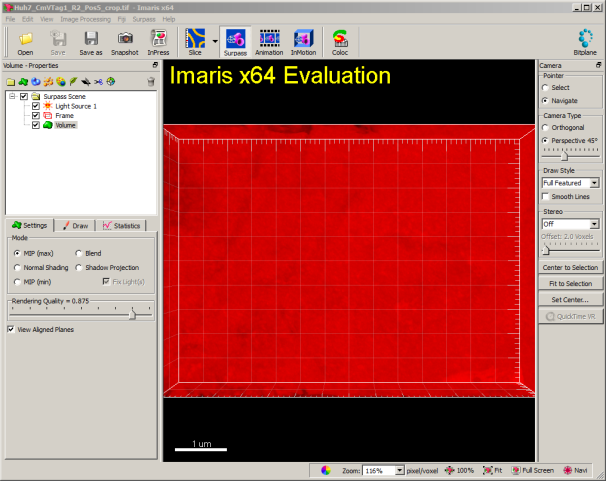
6. Invert the colors. Menu->Image Processing->Contrast Change->Invert...->OK
7. Set default colors.
I. Menu->Show Display Adjustment->ON
II. Display Adjustment->Click Channel 1
III. Click in the center of the color hex.
IV. Press OK
V. Adjust sliders in the Display adjustment window->Channel 1 for best view.


8. Set the dataset dimensions. Menu->Edit->Image Properties->Voxel Size Z: 0.030. The X/Y dimensions should be automatically detected.
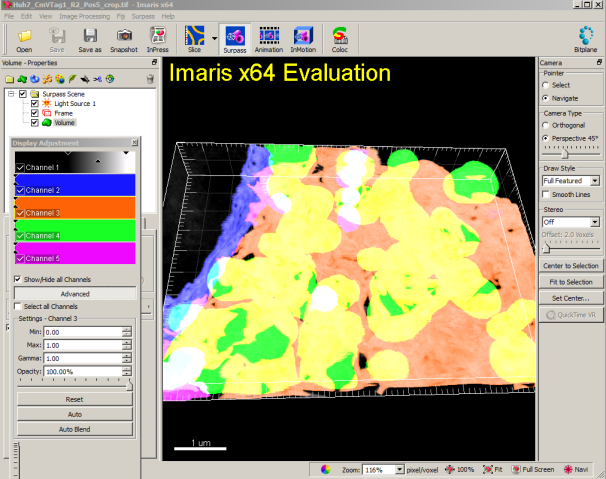
9. Add models as a separate color channels.
I. Menu->Edit->Add Channels->select 'NE.tif'
II. Menu->Edit->Add Channels->select 'ER.tif'
III. Menu->Edit->Add Channels->select 'mito.tif'
IV. Menu->Edit->Add Channels->select 'LD.tif'
V. Set desired colors for the imported channels in the Display Adjustment window.
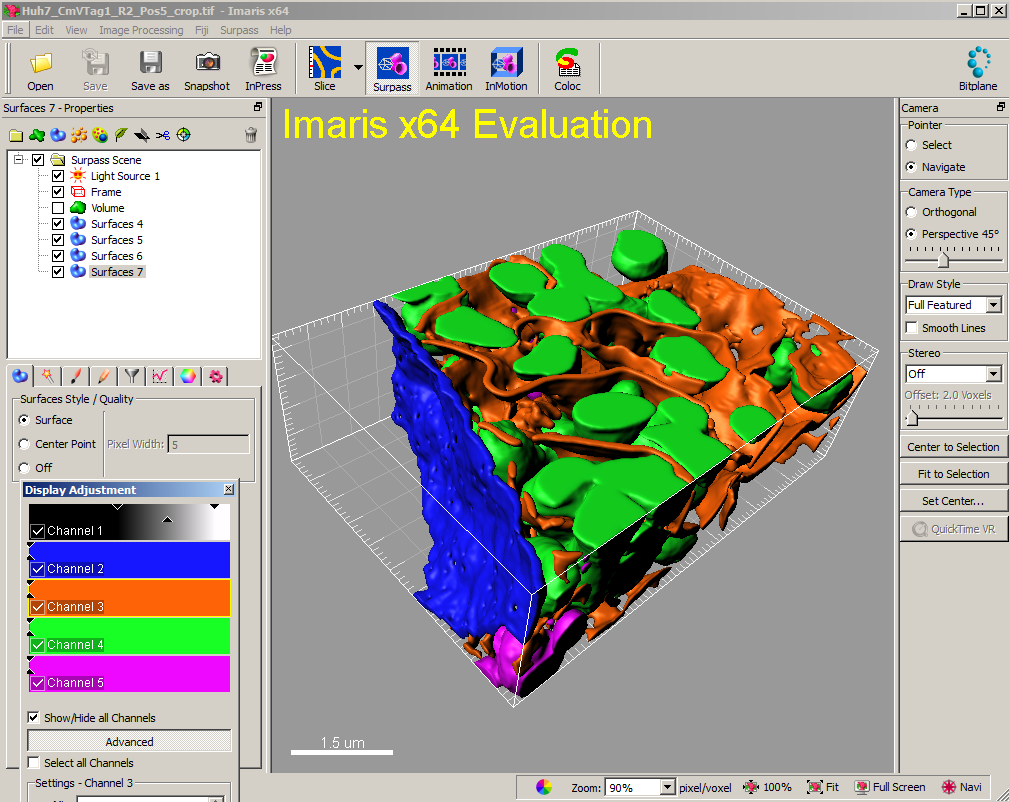
10. Generation of surfaces.
I. Turn off the Volume object: Volume Properties Panel->Surpass Scene->Uncheck Volume.
II. Add a model: Menu->Surpass->Surfaces
III. Press the blue button with a triangle (Next) in the Create Tab.
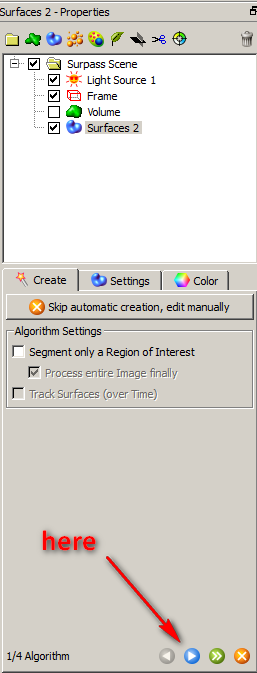
IV. Select the Source channel: Channel 2
V. Press Next.
VI. Adjust the left threshold value to about 0.34.
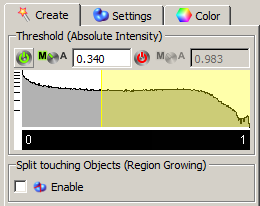
VII. Press Finish.
VIII. Repeat II-VII for Channels 3-5.
11. The model is ready.