Export models to IMOD tutorial
Ilya Belevich
Models that are
created in Microscopy Image Browser may be exported to IMOD
for visualization. Please follow the following steps for export.
1. Open a dataset
in im_browser
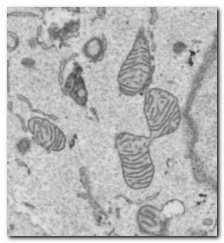
2. Segment the dataset
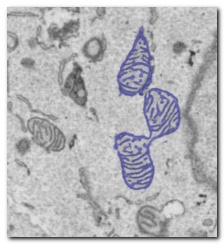
3. Export the model. The models could be exported either via the Contour or Isosurface way. If the isosurface way is used then
t he objects have to be saved one by one and later combined into a single model with use
of imodjoin function.
To do that:
- highlight the first material to export (Segmentation panel->Material 1)
- uncheck the Show all checkbox in the same panel
- save the material, Menu->Models->Save model as... Set Save as type as
''Countours for IMOD (*.mod)" or "Volume for IMOD (*.mrc)"; define filename and
press the Save button.
4. If the ''Countours for IMOD (*.mod)" option was selected provide
a density factor for points in the XY plane.

5. Start IMOD with the following command:
| Countours
for IMOD (*.mod) |
Volume
for IMOD (*.mrc) |
3dmod
yourfilename.mod
|
3dmod
yourfilename.mrc |
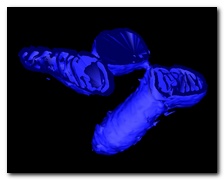
1. In the 3dmod ZaP Window you
should see the contours
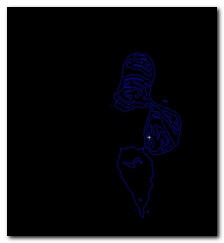
2. Select 3dmod Menu->Model View
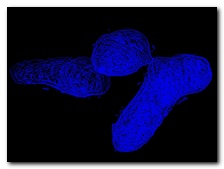
3. Select 3dmod Model
View->Menu->Edit->Objects->Meshing...
4. Select Surface and click
the Mesh All button
5. Adjust lights with sliders in the Material
section of the 3dmodv Objects
window
|
1. In the 3dmod ZaP Window you
should see the volume data
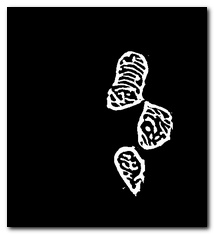
2. Select 3dmod Menu->Model View
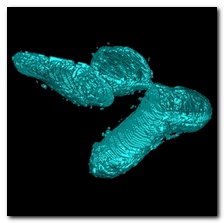
3. Select 3dmod Model
View->Menu->Edit->Isosurface...
4. Adjsut X Size, Y Size and Z size sliders to their maximal values
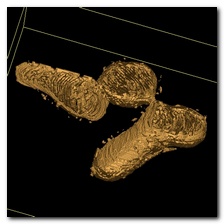
5. Press the Save button.
|

